Solution Explorer
The Solution Explorer is a core feature of C# Dev Tools, providing a Visual Studio-like experience for managing .NET projects.
Overview
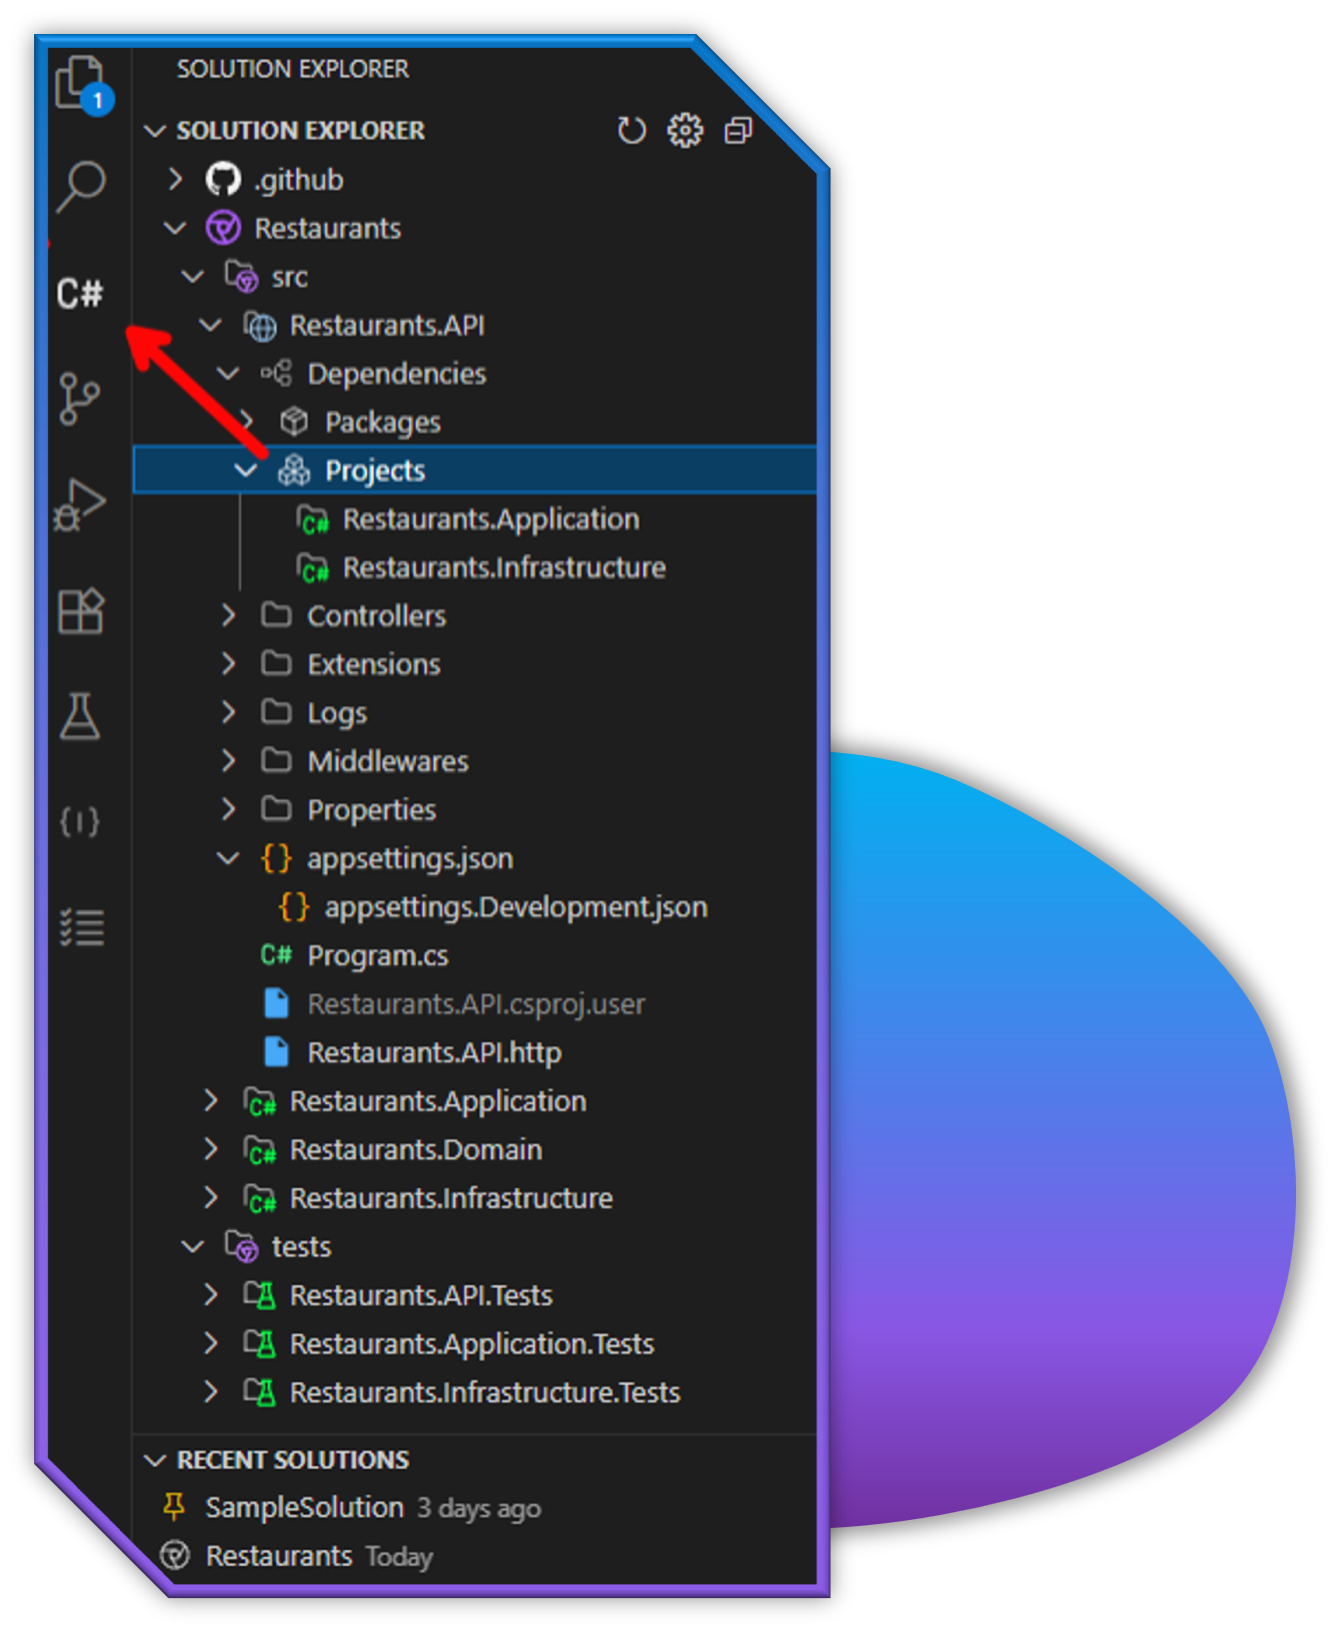
The Solution Explorer gives you a complete hierarchical view of your .NET solution, including:
- Solution files and properties
- Projects and project references
- Solution folders
- File system folders and files
- Dependencies (NuGet packages and project references)
Basic Navigation
- Expand/Collapse: Click the arrow icons to expand or collapse items
- Open Files: Double-click on a file to open it in the editor
- Select Multiple Items: Use Ctrl+Click or Shift+Click to select multiple items
- Context Menu: Right-click on items to see available actions
Managing Solutions
Opening Solutions
The Solution Explorer will automatically load the first .sln file found in your workspace. If you have multiple solutions:
- Click the Solution Explorer icon in the Activity Bar
- Use the dropdown at the top of the Solution Explorer to switch between solutions
Creating a New Solution
- Click the "Create New Solution" button in the Solution Explorer title bar
- Enter a name and location for your solution
- Select an initial project template if desired
- Click "Create" to generate the solution
Working with Projects
Adding a New Project
- Right-click on the solution or a solution folder
- Select Add > New Project
- Choose a project template
- Configure the project options and click "Create"
Adding an Existing Project
- Right-click on the solution or a solution folder
- Select Add > Existing Project
- Navigate to the project file (.csproj, .fsproj, etc.)
- Click "Open" to add the project to the solution
Setting a Startup Project
- Right-click on an executable project
- Select Set as Startup Project
- The project name will appear in bold in the Solution Explorer
Building Projects
Right-click on a project or the solution and select one of:
- Build: Build the selected item
- Rebuild: Clean and build the selected item
- Clean: Remove build artifacts
Managing Files and Folders
Adding Items
Quick Add:
- Select a project or folder in the Solution Explorer
- Press
Shift+F2to open the Quick Add dialog - Choose a template and provide a name
Context Menu:
- Right-click on a project or folder
- Navigate to Add and select the item type
- Enter a name for the new item
Organizing Items
- Create Folder: Right-click and select Add > Folder
- Move Items: Drag and drop items to new locations
- Copy/Paste: Use the context menu or keyboard shortcuts (
Ctrl+C,Ctrl+X,Ctrl+V) - Rename: Select an item, press
F2, and enter a new name - Delete: Select an item, press
Delete, and confirm the deletion
Dependencies Management
NuGet Packages
- Right-click on a project or the solution
- Select Manage NuGet Packages
- Use the NuGet Package Manager to add, update, or remove packages
Project References
- Right-click on a project
- Select Manage Project References
- Check the projects you want to reference
- Click "OK" to add the references
User Secrets
For projects that support user secrets:
- Right-click on a project
- Select Manage User Secrets
- Edit the secrets.json file that opens
Advanced Features
File Path Operations
Right-click on an item and select:
- Copy Path: Copy the full path to the clipboard
- Copy Relative Path: Copy the path relative to the workspace
- Reveal in File Explorer: Open the item's location in File Explorer
- Open in Integrated Terminal: Open a terminal at the item's location
Active File Tracking
The Solution Explorer can automatically highlight the currently active file:
- Open VS Code settings
- Search for "csharp-dev-tools.solutionViewer.trackActiveFile"
- Toggle the setting as desired
You can also press Shift+Alt+L to reveal the current file in the Solution Explorer at any time.